Showing posts with label Holiday Decor. Show all posts

Sunday, September 8, 2013

Looking Back at Re-Creations, One Year Anniversary

Happy Birthday Blog!

My blog is one year old this month! I am so grateful for all of the opportunities I have had to meet new crafters, teach classes, learn new techniques, create and "re-create".
Here is a look back at a few my favorite projects. You can click on the links below the photos to view the original blog post of each project.

Cards

My Craft Channel Superfan Blog Hop  

Rubber Cafe Inspired Greeting Card
Side view of stand up card


Graphic 45 "Bird Song" Cards

Home Decor

Valentine/Anniversary Wreath

Real Leaves made into Fall Bouquet

Spring Childhood Memory Jar


Graphic 45 & Clear Acrylic Clipboard Display

Scrapbook Layouts and Albums

Graphic 45 + six more Layers Layouts

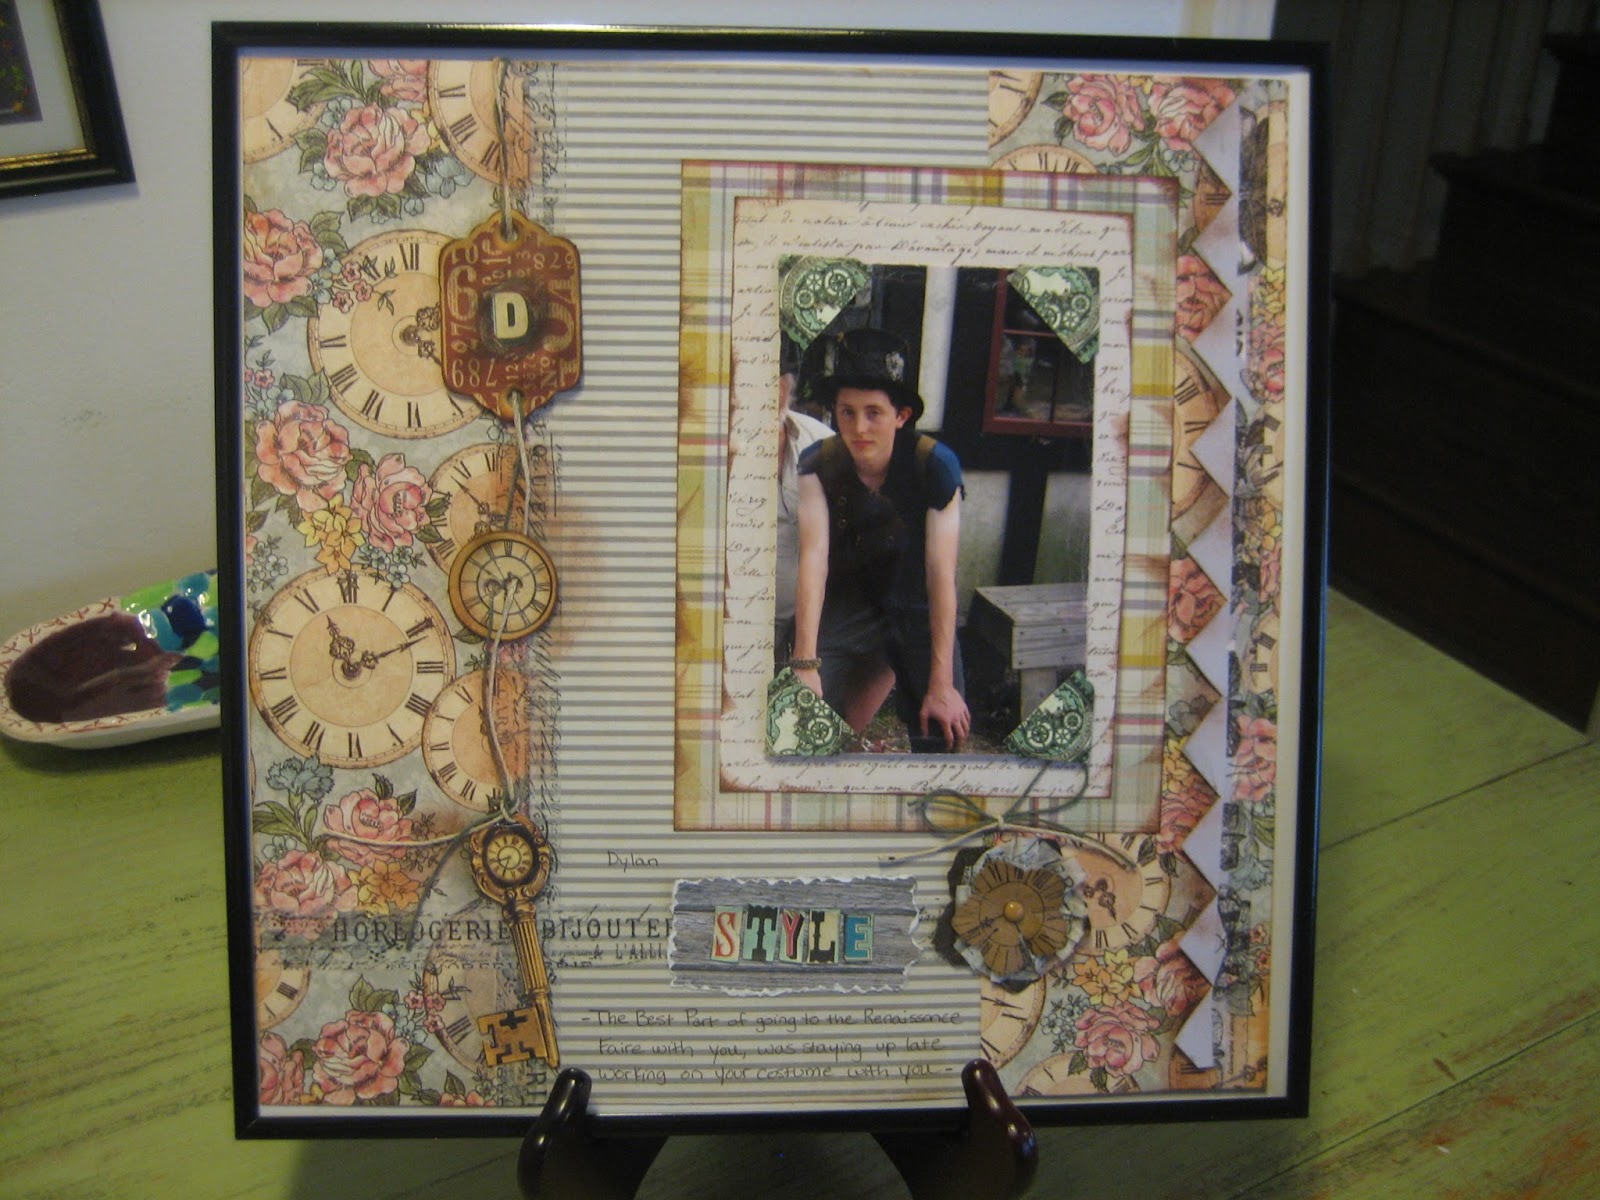
Using a Floral Paper on a Masculine Page

Tiny Canvas Frame Accordion Album


Made from Scratch Summer Album 


Wearables


More UP-Cycled "Ugly Sweater" Beads

Just For Fun


T.P. Roll Challenge - Marionette

I hope you enjoyed viewing some of my favorites, and that I have inspired you to try crafting something new this year. 
Follow me to see some  unique Christmas decor, cards, layouts, and d.i.y. gifts to be posted over the next few months. 
Thanks for stopping by!

Tuesday, April 2, 2013

Rubber , Acrylic Stamped Easter Eggs

At first I tried clear embossing and then dying the eggs, Craft Fail! The embossing powder did not stick to egg, it just melted off when I used the heat gun, and the heat gun made the eggs crack.
Soooo, I old fashioned dyed the eggs with the Paas dye, and then used Staz On ink to acrylic stamp them.
The Staz On was the ONLY ink that would dry and stay on the egg. The clear acrylic stamps were need because I had to kind of roll the inked stamp onto the egg very slowly and carefully and had to see where I was stamping when I double stamped a second color over the first.
What do you think?

Sunday, March 24, 2013

Spring Memory Jar

First I would like to say THANK YOU to my friend Elise who asked why I hadn't posted in a while. I had no idea that I had any regular followers because blogger doesn't show me people who signed up to get the blog post as an e-mail?? So, I'm sorry to anyone else! The news is that I have been so busy creating samples for the classes I will be teaching at Michaels this April, and I'm not allowed to post pictures of those.
However, I did make time to do a little home decor for Easter. This project has a sweet memory and story included. The memory jar idea was inspired by an episode of My Craft Channel click here for link to show
Meet "Mr. Peeps".    This adorable little stuffed bird in the jar has magnetic feet, and was given to my son when he was about 5 years old.   He would stick him on something, and who ever found him would move him and stick him on something else.   This game has been going on now for over 14 years!   It's a sweet family memory that I wanted to display for our Easter get together.   "Chickie" is a hopping chick that joined in the game a couple of years after Mr. Peeps' arrival.
To make a memory jar like this, I used a jar that I purchased for a couple of dollars at Goodwill. I added paper grass, made from shredding green paper in a paper shredder. 
I added One artificial flower from the Dollar Store.
I decorated  two standard tags, and  tied them together like a card so that I could write the whole story on the inside of the tags. 
The ribbon is actually white seam binding colored with (click here for link to Heidi Swapp )Color Shone spray (can't get enough of the stuff!) then it's scrunched and dried crinkly. Of course I had to add a bit of bling to the bow as well. 


Thanks again for following me, and leave a comment if you are able.  I'll work on posting more often! -Sheila

Thursday, January 31, 2013

Melissa Francis Give Away!

My Craft Channel and Melissa Francis have a contest right now to win $200 worth of beautiful Melissa Francis things!
Just click here to enter, and check out her "how to" episodes while you are there.
MelissaFrances_Giveaway

Tuesday, January 22, 2013

Glass Paint on Recycled Jelly Jar

Wow! I've been a social media butterfly since I posted last, and it's been a blast! So far, I really enjoy being a My Craft Channel Superfan! I have virtually/digitally connected with 14  wonderful, funny and creative ladies in the group. I'm pinning and posting and tweeting my passion for creative thinking and crafts, and receiving so much inspiration in return.
While internet surfing (a great thing to do in Chicago when it's only 6 degrees outside) I saw a beautiful post on the Plaid Crafts web site and wanted to try it for myself. This is the first attempt using . Gallery Glass Window by Plaid (The makers of Mod Podge).
I was holding on to a couple of really cute jelly jars, and now I know how I want to up-cycle them.
Best thing is this takes about 10 minutes, and dries over night.

1) Plaid's Gallery Glass Paint In Blue Diamond $3.49 ( They have a Martha Stewart version out now, I will try that next)
2) Rinsed out jelly jar
3) Crepe paper trim and blue bird of happiness purchased at Michael's  90% off after Christmas sale (85 cents), fabric flower on hand and hot glue to stick it all onto the lid.
4) Paint Brush

Step One- squeeze paint onto jar in pattern desired. The paint is about the consistency of white school glue and will drip very slowly.
Please check out the blog Something Turquoise  where I was inspired, for directions on covering entire jar.


I wasn't sure how transparent it would dry, and I wanted a little texture, so I thinned it out with a paint brush.
I won't thin it out next time because when dry, it is very sheer and I really like the color.


I did not "cure" the paint in the oven, because I'm not using this for food, and won't be putting in the dishwasher.
The color is just lovely, and even better when on a window ledge in the sun. It's stuffed with tissue for the photo, but I think I'll keep tiny buttons in this sweet little blue jar.



Saturday, January 5, 2013

Anniversary or Valentine Wreath

I was watching "My Craft Channel" online the other day (as I do every morning with coffee) and Lori Allred was demonstrating some beautiful after-Christmas wreaths. Link to episode here.That got me thinking, my wedding anniversary is in January, and my husband often forgets the date, or the year. I decided to make an Anniversary Wreath to serve as a "subtle" reminder. It's so over the top with glitter and bling, I just love the way it sparkles. Total cost: $12. Total time to make: under 30 Min

Anniversary/Valentine Wreath
Items used;
Purchased at the Dollar store; (Dollar Store Crafts page here) wicker wreath, 24 yards of white tulle, wired ribbon, pink die cut foam hearts
Purchased at an after-holiday %75 off sale at craft store, love birds, white roses, lazer cut wood frame
On-hand, chip board letters and phrase, silver Stickles, silver spray paint, 3in1 glue, hot glue

I wrapped the wicker wreath with 8 yards of tulle, the 2 yards of this white sparkly net stuff (don't know what it's called) the cut and tied the rest of the 16 yards of tulle on one by one. Tied the bows on.

The lazer cut wood frame (spray painted silver) was a lucky find because it's very light weight, and I simply stung it on to the wreath with tulle through the cut-out sections.

I chalked the edges of hearts and letters, and hot glued with foam dots one on top of another.
Hot glued everything else in place.

Do you think my dear husband will notice the date?

Thursday, December 20, 2012

Scrabble Tile Door Hanger or Ornament

I saw this cute idea on an episode of My Craft Channel which I watch EVERY morning, really. (I have applied to become a My Craft Channel SuperFan and I'm crossing  my fingers they pick me!)  
This was a Xyron sponsored video. I took it a step or two further by turning the ornament idea into a door hanger and adding a bell (12 for $1 at Dollar Store) to the bottom. Call it a "Green" personal door alarm!

I used goop glue instead of Xyron's sticker machine because I knew that hanging on a door would take a lot of bouncing around, and Goop or E6000 hold the best.
I also inked the edges of the scrabble tiles, and added a spray mist for *sparkle*.

Monday, November 19, 2012

DIY Angel Candle Decoration

Here is one more quick and easy Dollar Store Craft.


Supplies; 5 glitter Angel ornaments
One large led pillar candle and 2 led tea light candles
One small piece of transparency film or velum.
Alcohol markers (sharpies would work as well)
Hot glue, and E6000
With utility scissors, cut off hanging loop on plastic ornaments. Trace around one on to a piece of transparency/velum. Color on the velum however you want to. Cut out, and glue with Goop or E6000 to the back of one ornament, then make a sandwich and glue another on top.
Hot glue the other 3 ornaments at wing tips all the way around.
Take bottom off, and guts out of the large pillar. Replace with a  tea light in the base, and a tea light on top. This gives it a luminous glow all over.

Sunday, November 18, 2012

Miniature Christmas Scene

This is a variation on the "Winter Under Glass" decoration. I added a little mood lighting on the inside with a blue led light from a craft store. It gives it a nice glow.


Winter Under Glass

I really had a lot of fun with this month's Dollar Store Crafts Challenge. I have always loved miniatures, so these two projects were a joy to make.
Supplies: Large glass bowls/jars
A few miniature figures and trees
A mirror
An Ornament
A battery powered tea light
A glass tea light holder
Snow felt fabric
Foam square
Artificial flower
Artificial Bird :)
On Hand- Goop, E6000, Tacky Glue, hot glue.
Trace around mirror on to snow felt then cut and glue to mirror. I use Tacky Glue. Then add your figures as you like, I use Goop. While setting to dry, place bowl upside down and use E6000 to glue tea light holder to top, and hot glue for plastic ornament to glass tea light. (It is so important to use the right adhesive for the right material! I'm thinking about adding a blog that;s just about which adhesive to use for what.)
Glue top to base with E6000. (Open a window when you use E6000, it has a strong odor.) If this is a gift, left it air out a couple of days before gifting.